Some months back a few beekeeper friends and I went up to Newton Farm to have some fun setting up swarm traps and putzing around with the two hives that we set up there. One of the hives happened to be boiling over with bees (an indicator that they are running out of room, which could mean swarming) so we made what is called a “walkaway” split to alleviate some of the crowding. Making a split is often a beekeeper’s first introduction into queen breeding.
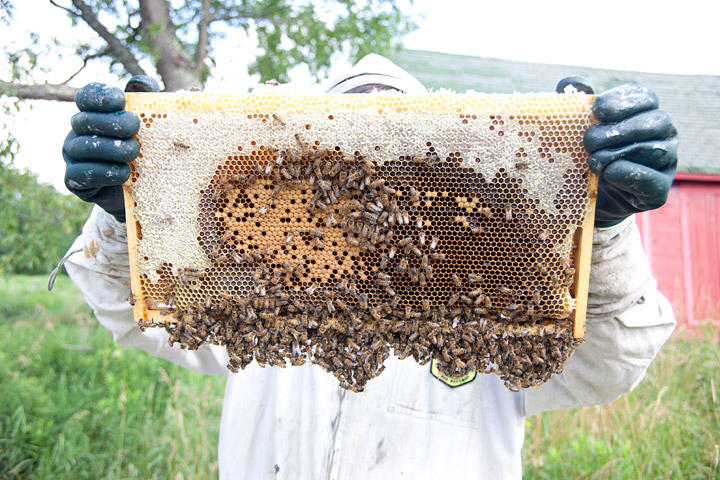
(Photo by Tim O’Neal)
What a split involves is removing and transporting frames from one crowded hive to a new, empty hive in a different location as close as a few feet away. You can’t just take any frames and throw them in…there are a few simple rules to follow that will ensure success:
-One of the frames must have EITHER fully capped queen cells or the queen on it. The other should stay with the original hive. If you don’t have queen cells but want to make a split anyway, you can include a frame with eggs that the bees will then create emergency queen cells around or you can purchase a queen from a breeder.
-One frame must contain food (honey and pollen)
-You must introduce an adequate number of house bees to ensure that the brood in development are properly cared for and that comb can be built at an acceptable rate.

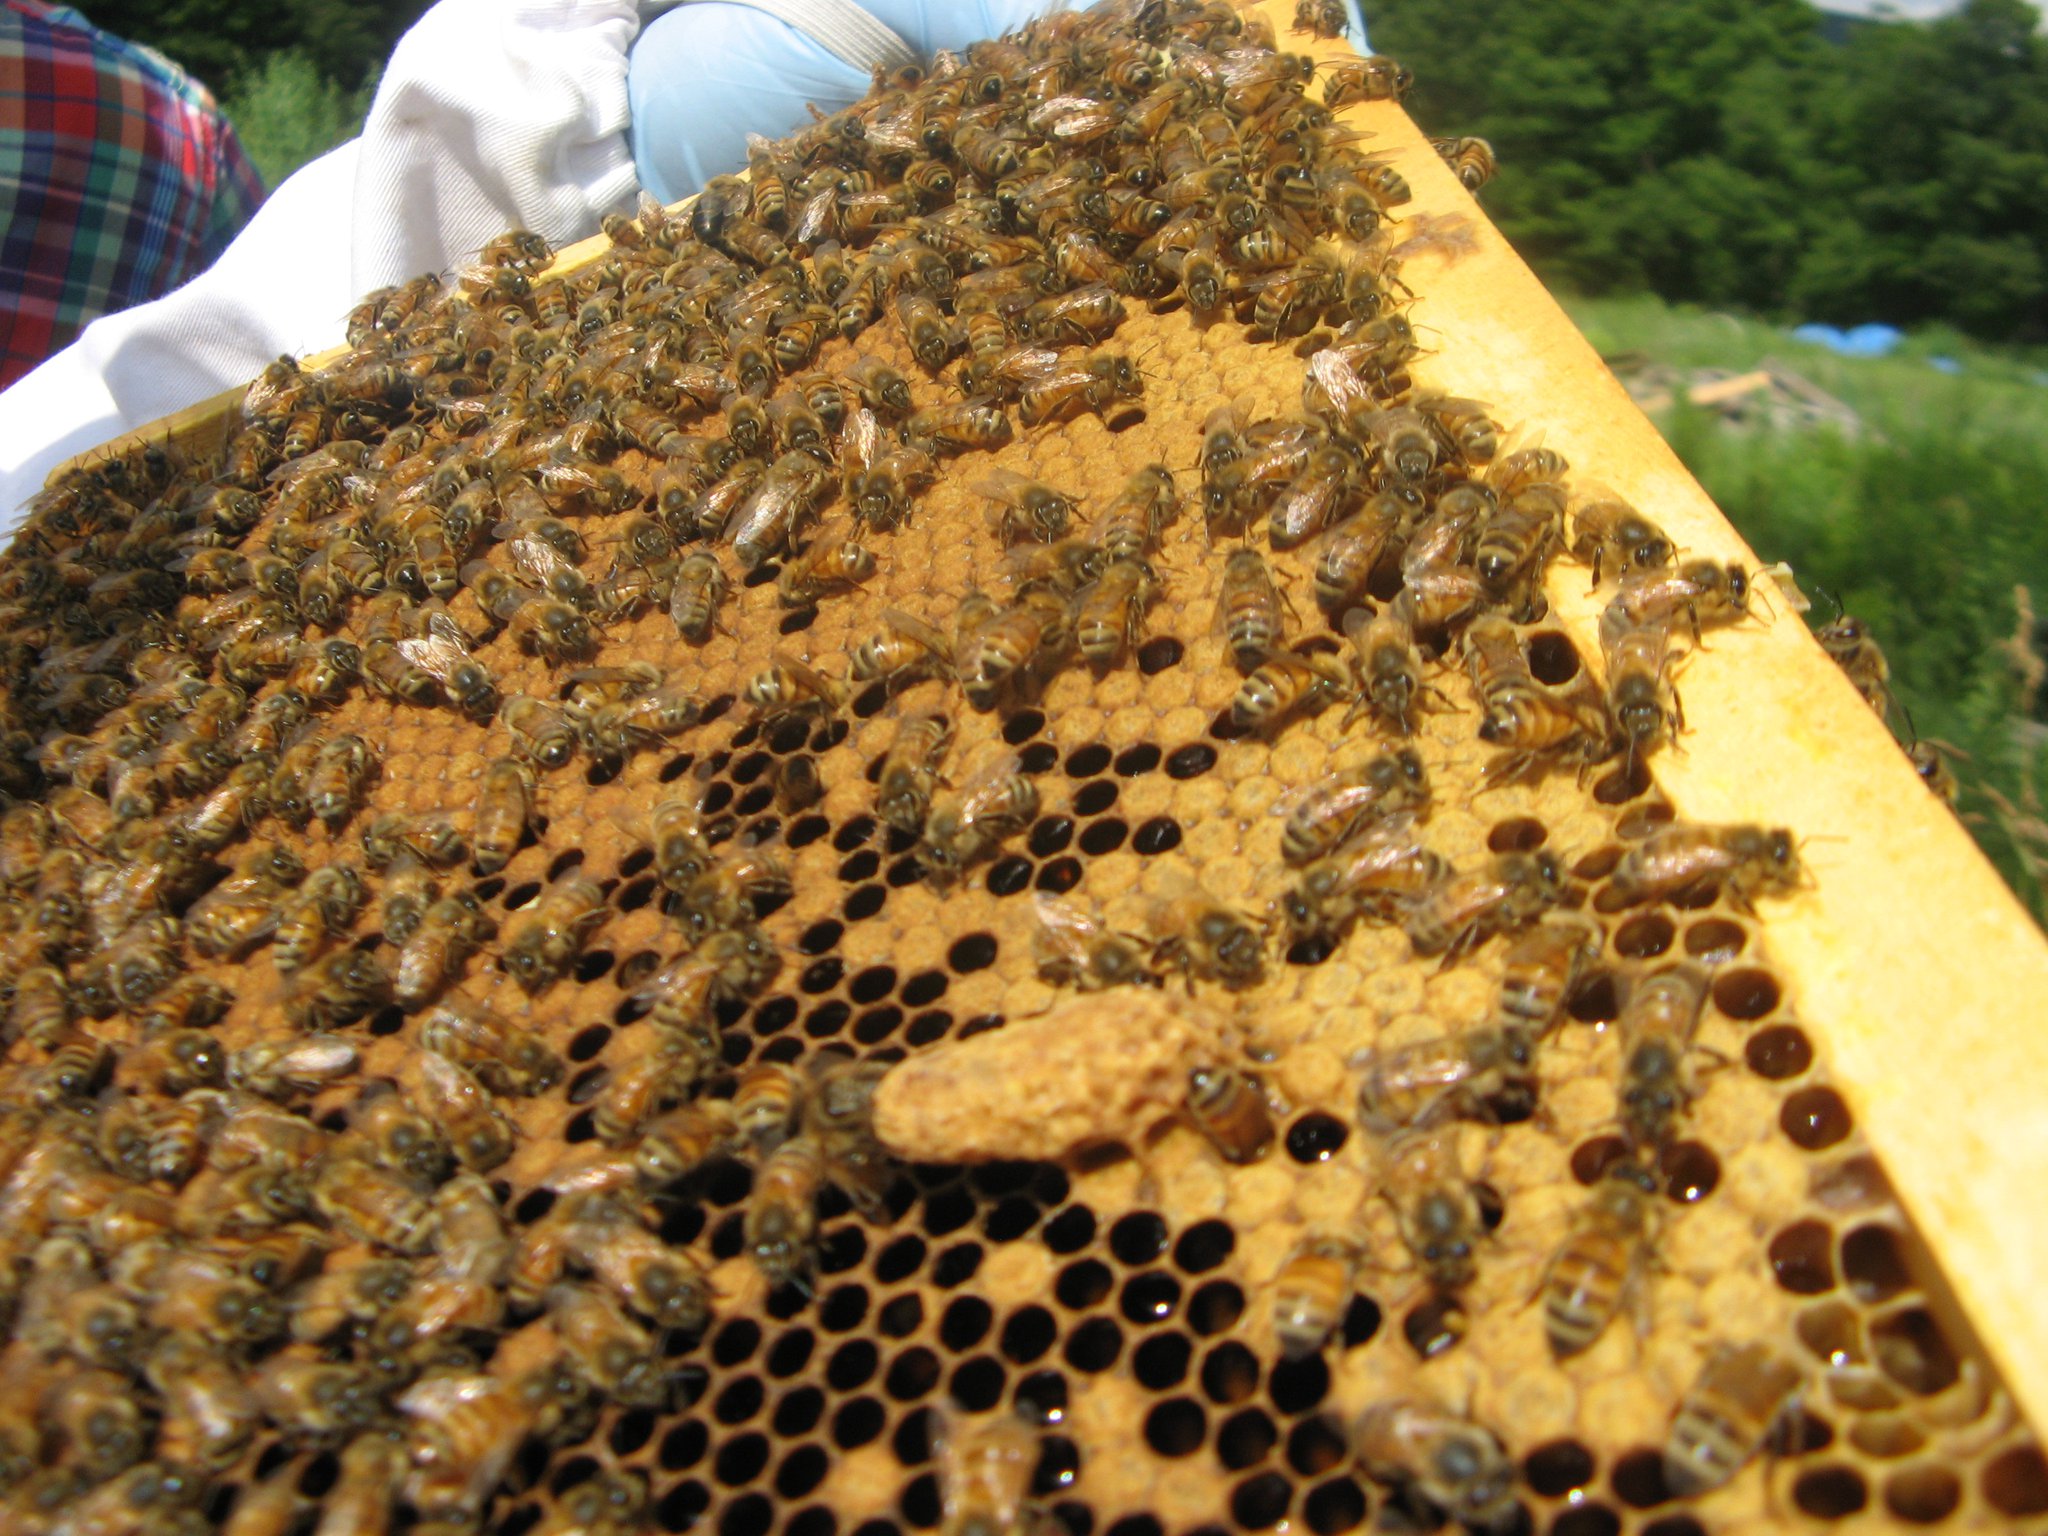
(Photograph by Alex Brown)
Once you’ve located either the frame with the queen on it or a frame with capped queen cells, set it to the side. If you are choosing to use a frame with queen cells (as I did), throughly check the frame to ensure there isn’t a queen on there. Place that frame in the new hive location.

(The biggest queen cell ever. Photo by Kirk Anderson)
Now you will want to go and locate a frame with eggs and uncapped larvae and a frame with capped brood which will emerge quickly, giving the new split a boon to their population. You can add more than a frame of each of the population of that hive is really booming.
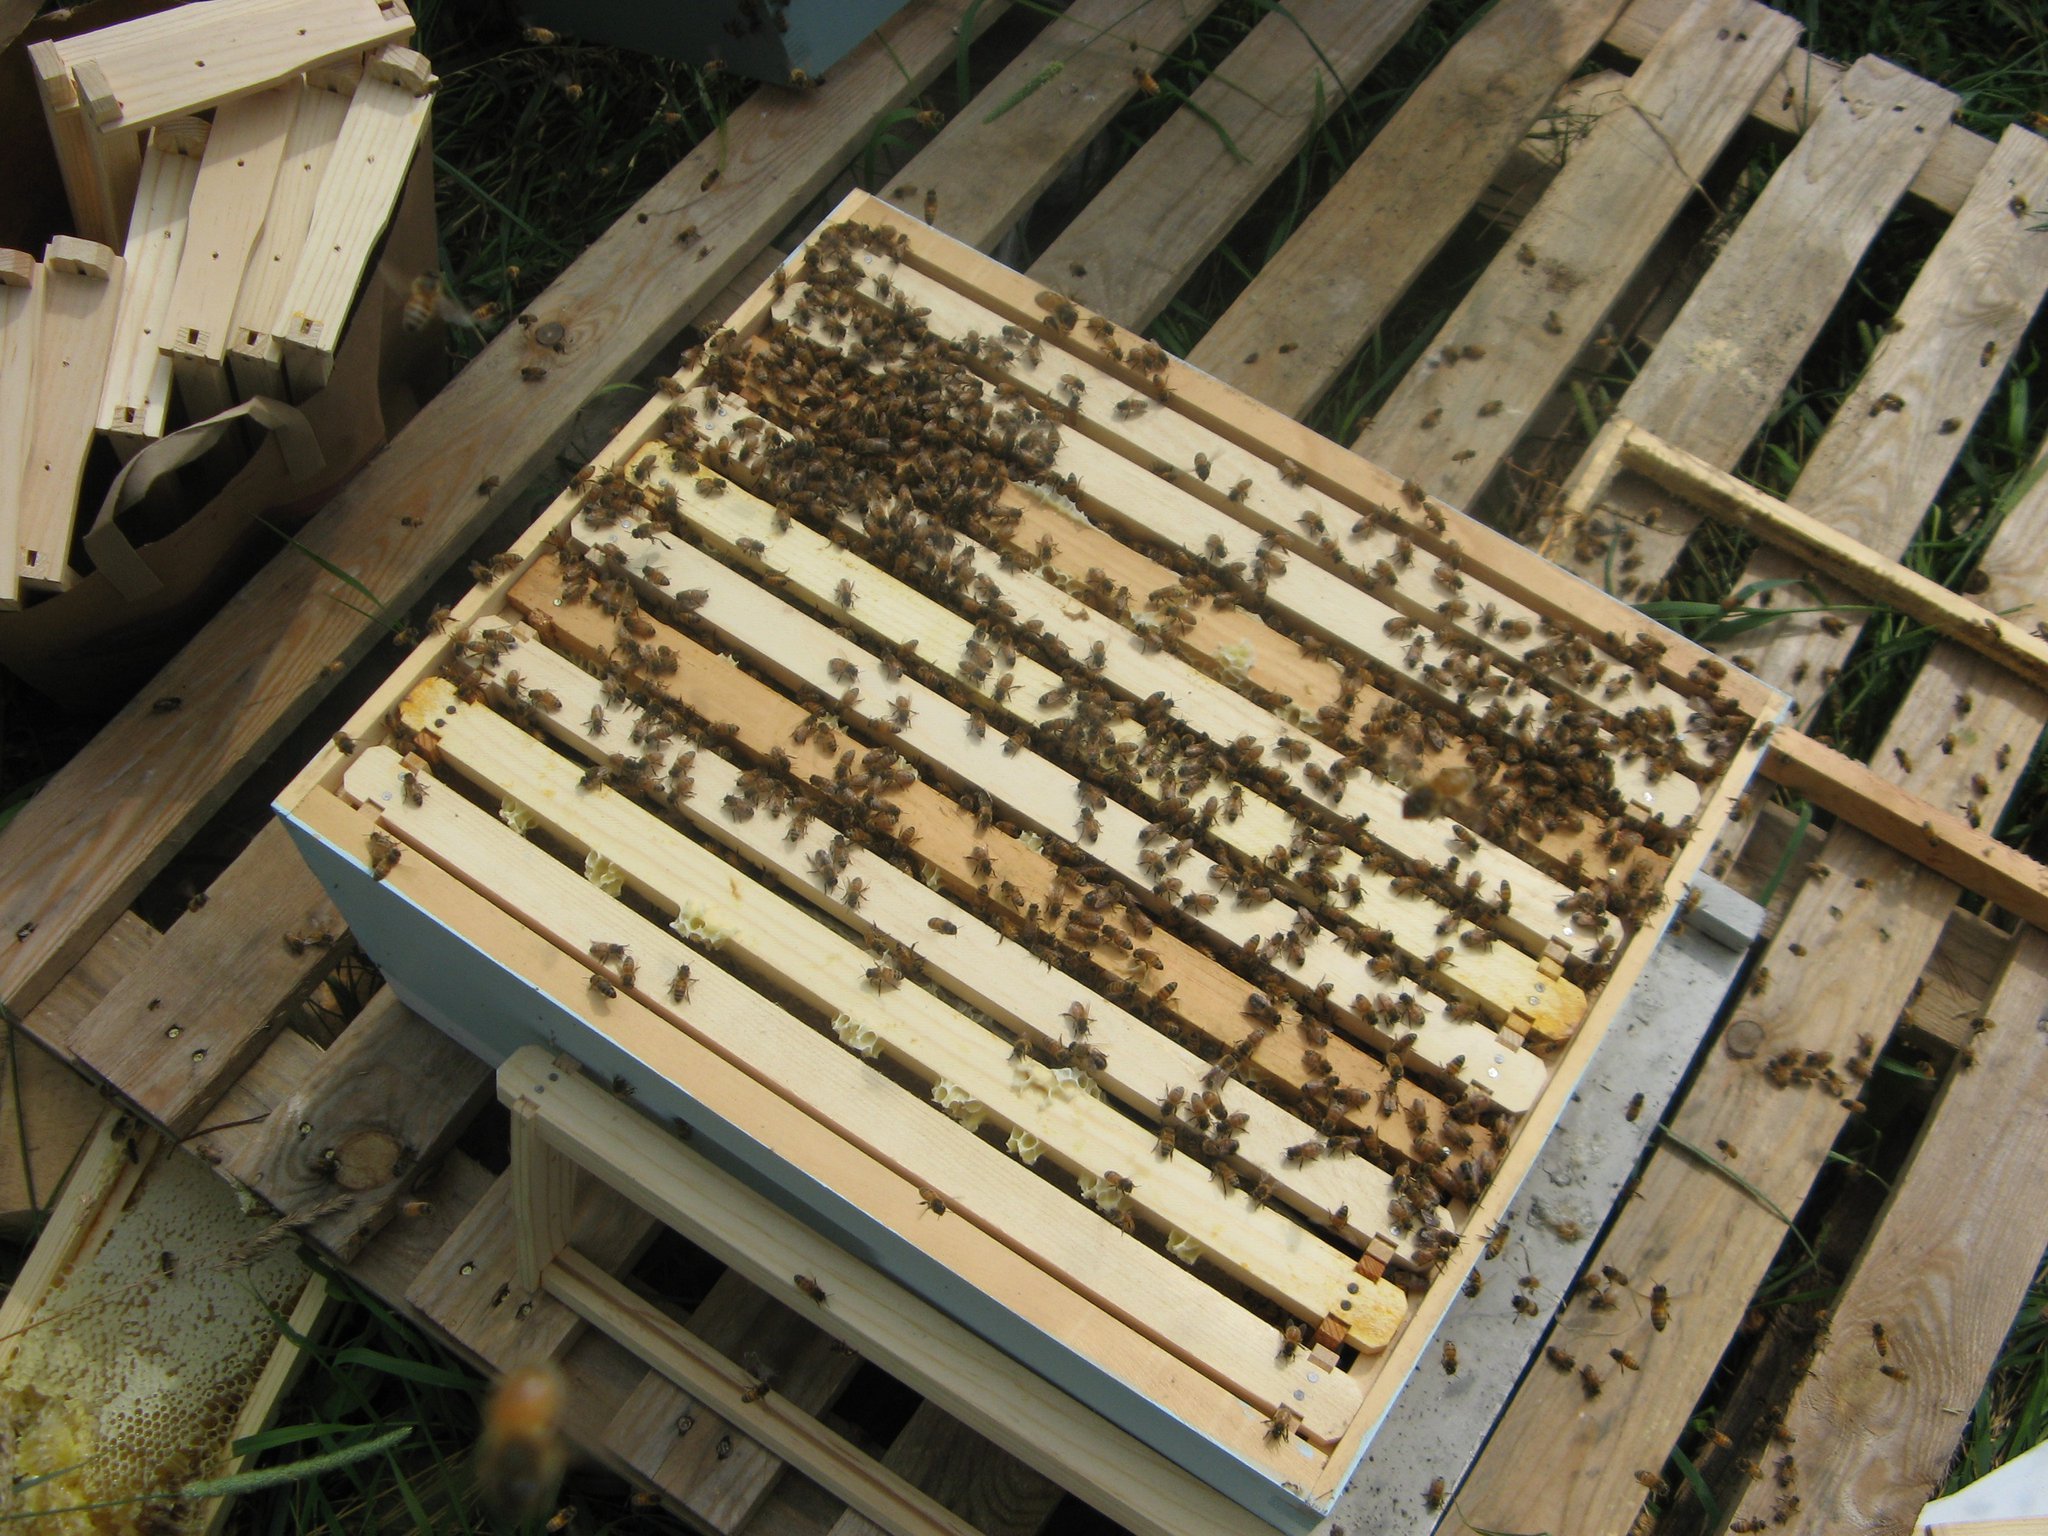
Remove a frame or two of honey and place those outside of the frames of brood which should be placed centrally in the hive body. Put empty frames on either side of this cluster of frames. You can also place these frames in a nuc box until they fill that up and then transport to a full 8 or 10-frame hive body.

(A nearly complete walkaway split. Photo by Kirk Anderson)
Once the frames are in place, you are almost done! Now you want to give the hive some extra work force. Take a few frames of brood (which are almost always covered with nurse bees) and shake the accompanying bees into the new colony. Make sure you do this over the hive, not in front of it so they fall right in. You will want to shake about 3 or 4 frames in this manner and then place the bee-less frames back into the old location.
The old hive will have empty spaces now. Put some frames without comb staggered in between frames of brood to give the remaining house bees a place to build comb. Once the comb is built, the remaining queen will have a place to lay more eggs.
Close both hives up and make sure to reduce the entrance on the new hive. They will be much too small to properly defend themselves from insect raiders like wasps and other bees. If you don’t have an extra entrance reducer, you can plug half of the entrance with a handful of dried grass or straw.
*UPDATE: You may want to start feeding the new hive sugar syrup to stimulate them to build comb. Most of the foragers will drift back to the original location so there won’t be any new food coming in and hence they will build comb a bit slower.
So now that you know what a split is and how to perform one, this brings me back to the one Kirk Anderson and Tim O’Neal and I made during our “bee-kend” up at the farm. I make splits in Brooklyn all the time and it’s fun to see how the bees work things out. If for whatever reason the split doesn’t take, you can always combine them with a weak colony in the fall.
This is exactly what I did this week. The split we made did a great job of building up, and the queen that emerged went on to mate and become a very solid egg-layer, but they were still a little small to make it through the long, cold Catskill winter. I made the decision to recombine the two hives, which would require me to remove one of the queens and dispose of her. I’d then place one hive on top of the other with a piece of newspaper between them. Eventually the bees chew through the paper and the queenless colony accepts the pheromones of the queenright colony and they become one. Pretty neat trick.
Anyway, I really hated the idea of killing a perfectly good queen to recombine these hives. The colony had virtually no mites and I’m fairly certain that ole queen-y mated with some of the feral bees that I had seen foraging early in the spring. If my suspicion is correct, the workers that came from her will show some of the winter hardiness that the feral bees possess. I had to find another place for her besides the blunt end of my hive tool.
(Jar O’ Bees. Photo by ME, ya turkey!)
Luckily, I had gotten an email from my friend Eric over at Garden Fork TV saying he was looking for such a queen to replace a southern commercially bred queen that hadn’t been doing so great. As I type this, I am sitting in a coffee shop with a jar of bees, one of which is the queen that will go into a Brooklyn rooftop colony and hopefully lead them into winter well.
I am optimistic. This queen got her start on an abundant flow of nectar and pollen (first dandelion and sugar maple, then mustard flower, milkweed and holy basil, wild thyme, clover and goldenrod). She just didn’t have enough time, is all. I never treated them, they had all of the fresh mountain spring water and amazing forage they could have needed and they seem better for it. Here’s to hoping that she continues to kick ass in her new locale.
]]>
