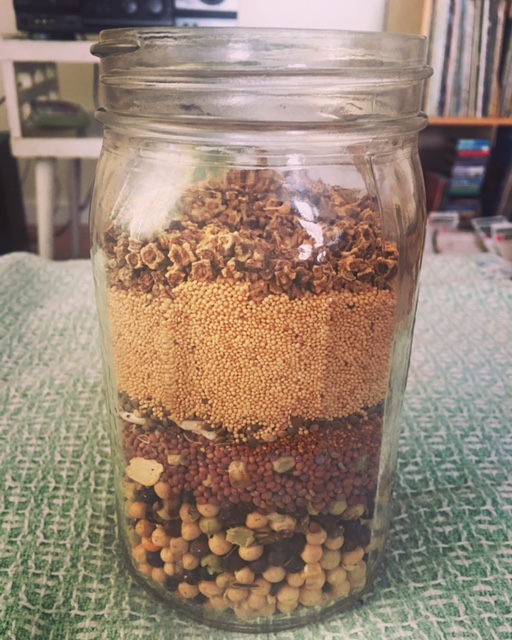
As I adjust to the realities of gardening in zone 5b (I was in zone 7b in NJ), I’ve been obsessively reassessing and tweaking my garden plan and sorting through old seeds to kill time. It’s a compulsion that isn’t the most efficient use of time, though the end result is that I’ve developed a more detailed organizational system, thinning out seemingly expired packets and creating new and interesting mixes from envelopes with few seeds left in them or high probability of low germination. Below is a picture of a forage mix I made for our chickens, rabbits and goats consisting of old pea, beans, radish, turnips, clover, arugula and beet seeds.
Since I am not growing for market this year, I figured it would be a primo opportunity to whittle down my seed bank a bit. I’ve currently got about four large harvest crates full of sorted and assorted seeds. If I were to guess, it’s probably around $5,000 worth or more. Seems like a waste to order more when at least most of them might yield healthy plants. As such, I committed to using up what I have first, before buying anything else. I’d like to share with you some of the ways that I’ve given these seeds new life. But first things first: How can you tell if the seeds are even viable?
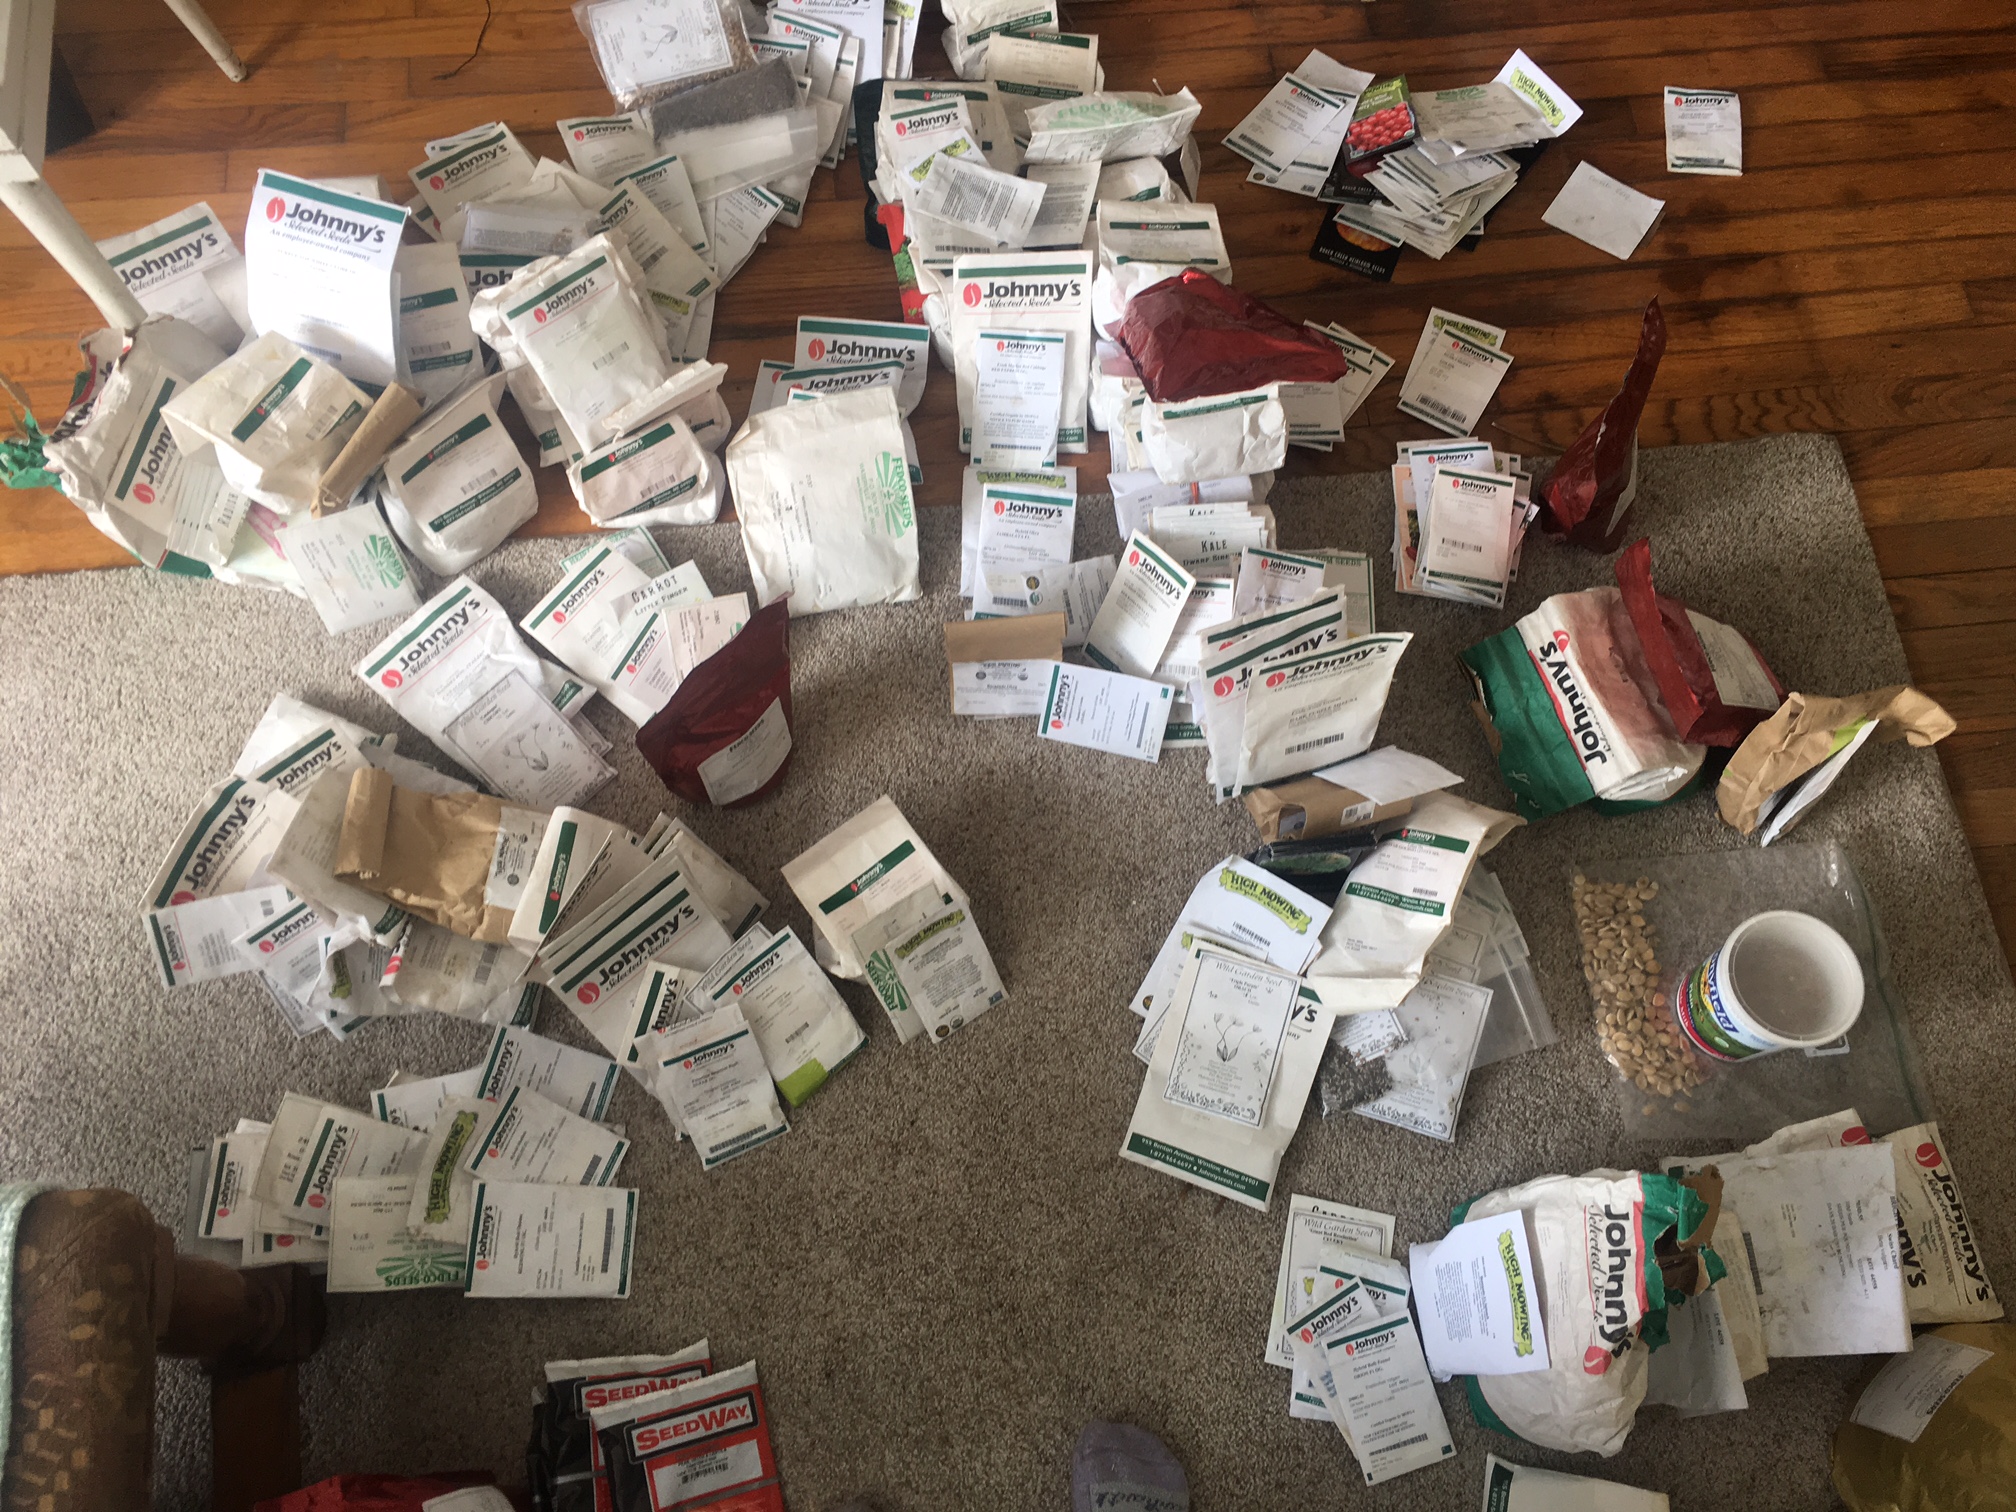
Look at this horrible, ugly mess of seeds! (only about 1/3 of what I currently own pictured)Don’t worry. I organized the heck out of it!
Many, though not all, seed packets come with a germination rate printed on them. This means that the seeds were tested for viability and the percentage listed should help to inform how you plant them. Germination rates that drop below 80% might require that you seed a little more densely in the field, or plant more than one seed in seed flats and thin once true leaves emerge. Once seeds have been in the packet for a year or more, they usually don’t go from 90% to 0% germination. Lucky for us all, they deteriorate much more slowly than that. If you keep your seeds cool and dry and in a dark place when not in use, you’ll find that germ rates hold really well for most varieties. After a year or two, you may want to perform a germination test of your own to check viability. But you can make an assessment before that, simply by checking the date on the packet. Here is a list of the approximate viability of seeds by species, from High Mowing Seeds. It will help you decide whether or not to attempt a germ test of your own before planting:
| Seed Type | Longevity Under Proper Seed Storage Conditions |
| Artichokes | 5 years |
| Arugula | 3 years |
| Beans | 3 years |
| Beets | 4 years |
| Broccoli | 3 years |
| Brussels Sprouts | 4 years |
| Cabbage | 4 years |
| Carrots | 3 years |
| Cauliflower | 4 years |
| Celery/Celeriac | 5 years |
| Chard | 4 years |
| Collards | 5 years |
| Corn | 2 years |
| Cress | 5 years |
| Cucumbers | 5 years |
| Eggplant | 4 years |
| Endive/Escarole | 5 years |
| Fennel | 4 years |
| Kale | 4 years |
| Kohlrabi | 4 years |
| Leeks | 1 year |
| Lettuce | 5 years |
| Melons | 5 years |
| Mustard | 4 years |
| Okra | 2 years |
| Onions | 1 year |
| Peas | 3 years |
| Peppers | 2 years |
| Pumpkins | 4 years |
| Radish | 5 years |
| Rutabagas | 4 years |
| Spinach | 2-3 years |
| Summer Squash | 4 years |
| Tomatoes | 4 years |
| Turnips | 5 years |
| Watermelon | 4 years |
| Winter Squash | 4 years |
For herb and flower seed shelf life, visit this link. As you can see, most seeds are viable for 2-4 years, easily. Onions, leeks, celery and parsley are unlikely to be viable after a year or two in my experience, but when in doubt it never hurts to throw a handful of the seeds on a wet paper towel and put them in a sealed bag in a warm place for a week to see if any of the little guys pop. The top of a refrigerator is a universally accepted location for a mini germination station. Make sure to label everything clearly and check up on your incubating seeds daily to make sure they don’t dry out or rot.
Once you have germination, you can examine the seeds to get an approximation of how well they will germinate once you plant them. At this stage, you can take the seeds that are putting out a radicle (the initial root growth that emerges from the seed) and drop them into seed flats to get a head start on the season. Give newly transplanted seedlings a little hit of some fish and kelp emulsion in their first watering to help them get settled more quickly.
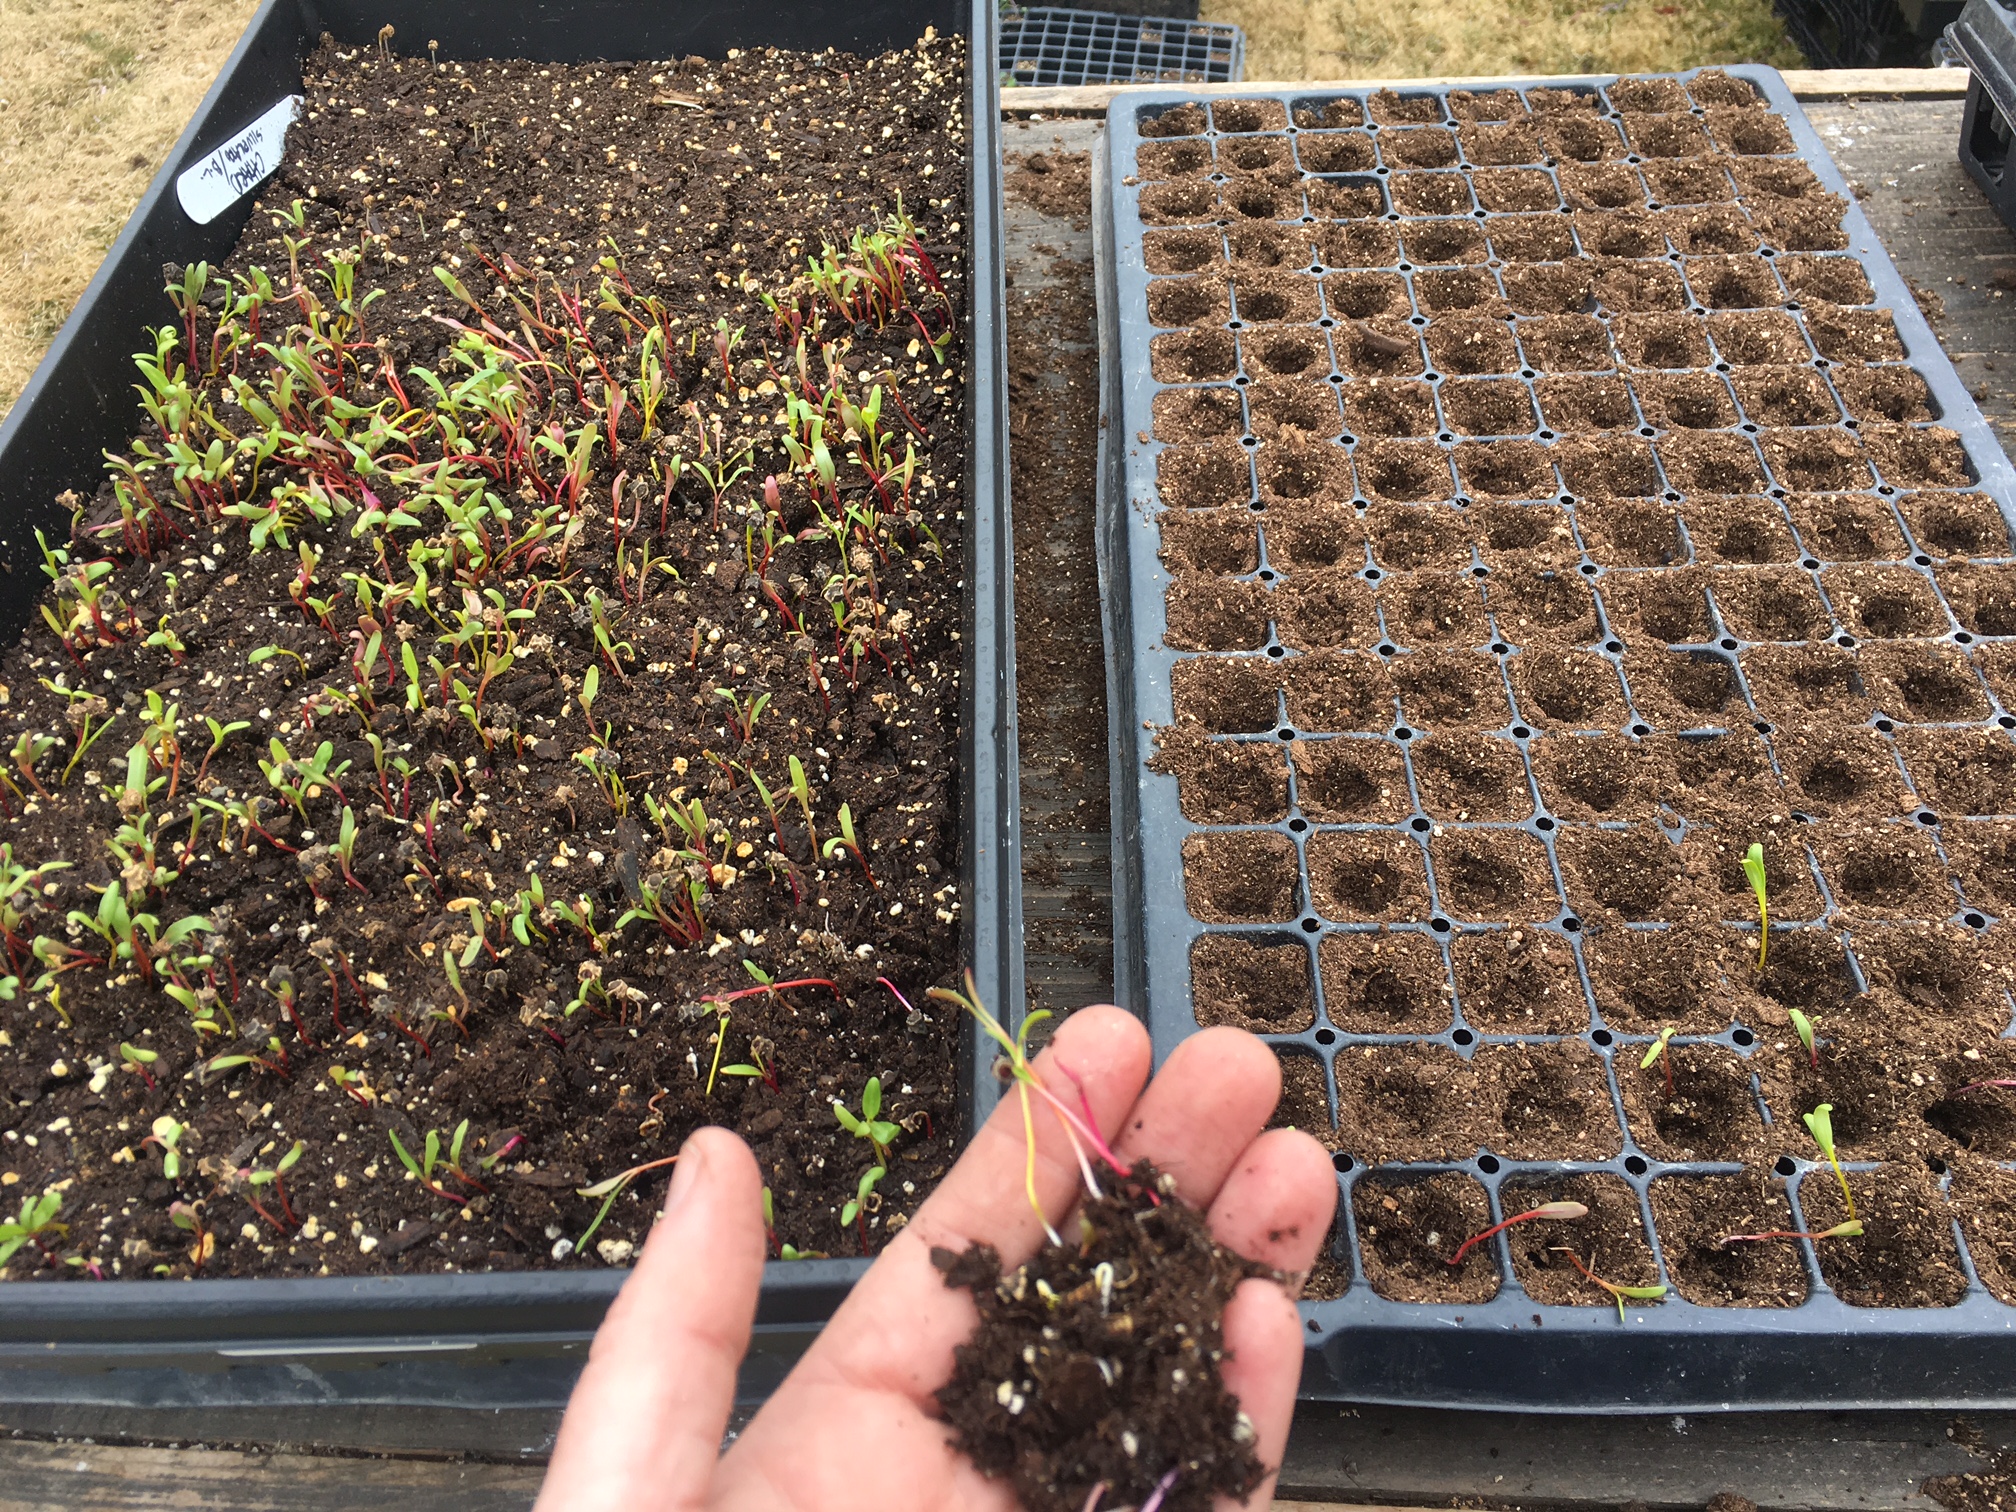
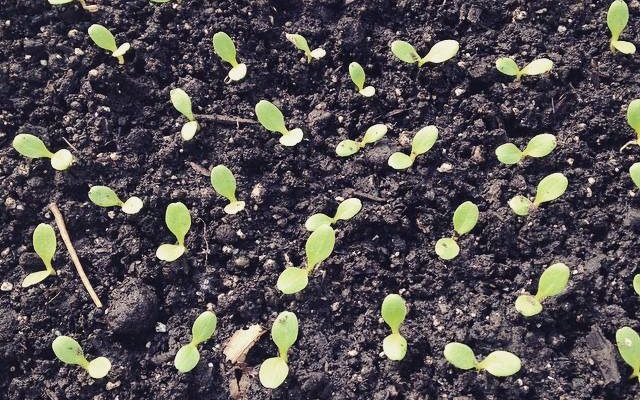
I broadcast three different packets of swiss chard in the flat on the left. As you can see, the germination varied wildly. I transplanted the most vigorous seedlings into a plug flat to bulk up a little before going into the garden.
If you have seeds that are only partially germinating, say by only half, you can densely broadcast them into an open seed flat and lightly cover them with soil (unless otherwise noted on the seed packet) and wait to see how many seedlings pop. You can then prick out the tiny seedlings before their roots get too established, and transplant them into flats or into the garden bed if the conditions are optimal.
Lastly, if you find yourself with more seeds than you will likely use before they lose all viability, attend or organize a seed swap! Not only will you help to ensure other budget-minded gardeners can grow more food this season, but you’ll get your hands on some free seeds too! It’s cyclical, it’s a sickness. It’s seed sickness!
As a reminder, when starting seeds you must consider the following variables:
-Soil temperature: Is the soil at the ideal temp for this particular species of plant to germinate? Will you need to use a heat mat to assist in germination for warm weather crops that you’re starting indoors?
-Moisture: is the soil moist, able to hold enough moisture to keep from drying completely out with about 1-2 waterings a day? The soil should also not be too wet so make sure the soil is the consistency of a lightly wrung out dish sponge a few minutes after watering. Seeds can easily rot in overly wet soil, and dry seeds simply do not germinate.
-Light: Many seeds require a light covering of soil to keep them moist so that the radicle is able to break through the seed coat. Some seeds require light to germinate, but still depend on some moisture to facilitate germination. Consider a clear piece of plastic (sandwich wrap or a purchased flat cover) to help maintain moisture for seeds that require light. Be cautious that the covered seeds do not overheat during the day, as clear plastic can create an enclosed environment where temperatures can spike quickly. Consider installing a digital thermometer in the area where your seeds are germinating. Once all seeds are open and presenting cotyledons, be sure that that they get full, direct sun, uncovered for a minimum of 6-8 hours a day. If your seedlings start looking long and spindly, they are not getting sufficient light. Move them to a place with more direct light or invest in a grow light system. Situate artificial light much closer than you think is necessary.
I hope this was helpful for all of you seed hoarders out there. Have an excellent growing season!
-M