
I feel kind of goofy getting all excited about it, since it might seem somewhat arbitrary, but today marks the vernal/Spring/March equinox. Even though we’ve been downright summery here in the city for the past few weeks (seriously… I saw neighborhood kids in a blow-up pool yesterday), I can’t deny the bit of magic in the air today. We’re springin’ out!
Life is absolutely insane these days; I feel like one of Meg’s bees. I may not be coming home dusted with pollen, but with the farm season picking up serious steam, a few family guests visiting me the past few weekends, and the rushed search for a new apartment, then subletter, then new apartment, then subletters for April 1, I’m empathizing with those little ladies.
But what would Spring’s first calendar’d days be without a homestead update?
Today, I got down on some homemade crop covers. May seem pointless given our sunny warmth lately – and perhaps it will be after all – but with a last-frost date of April 10ish this season, there’s still chance for a few freezes here and there.
Crop covers that are at least semi-transparent can function as mini-greenhouses, trapping in sunlight and maintaining a warm atmosphere inside even when the air chills outside. But even fully opaque covers can help in a pinch; if a hard freeze is predicted, throw them over plants to insulate and cross your fingers.
Covers can be made using scavenged or repurposed materials and a minimum of effort. There are truly a bajillion ways to go about it depending on your living situation and growing space. For those of us with smaller balcony, fire-escape, and rooftop container gardens, stuff like yogurt cups, soup take-outs, and milk jugs are awesomely sufficient.
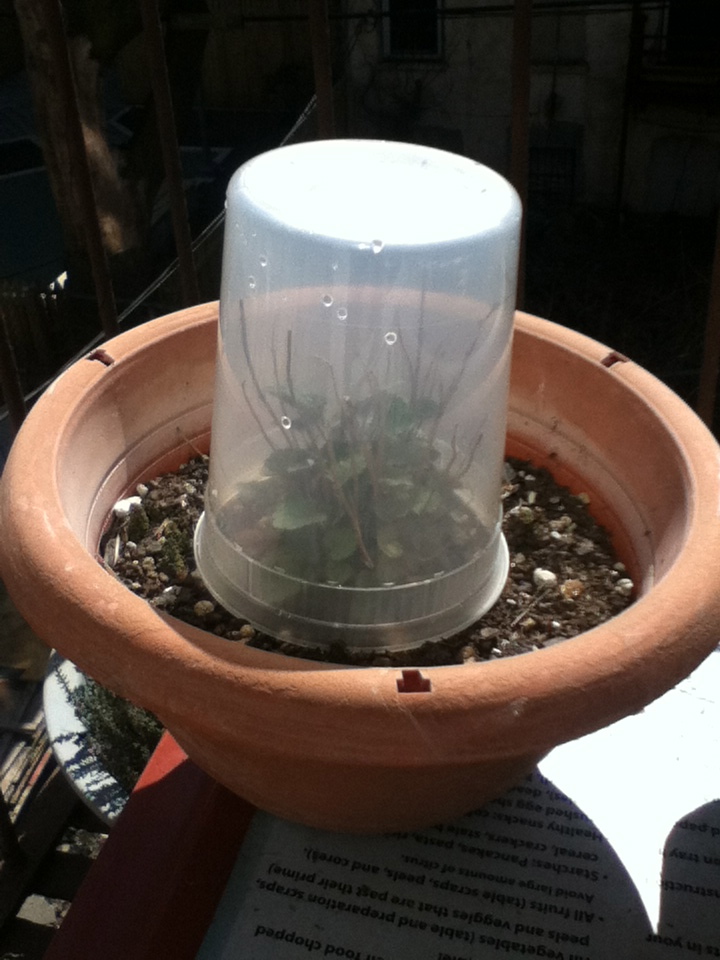
Yogurt cups and take-out soup tupps

It doesn’t get any easier than this. Take off the lid, remove labels to allow more light in (washing soda really helps with any stubborn ones), and turn upside down over the plant. Press the rim into the soil a bit to anchor it; weigh down with a stone or something if it’s super windy. Le voilà.
Milk jugs
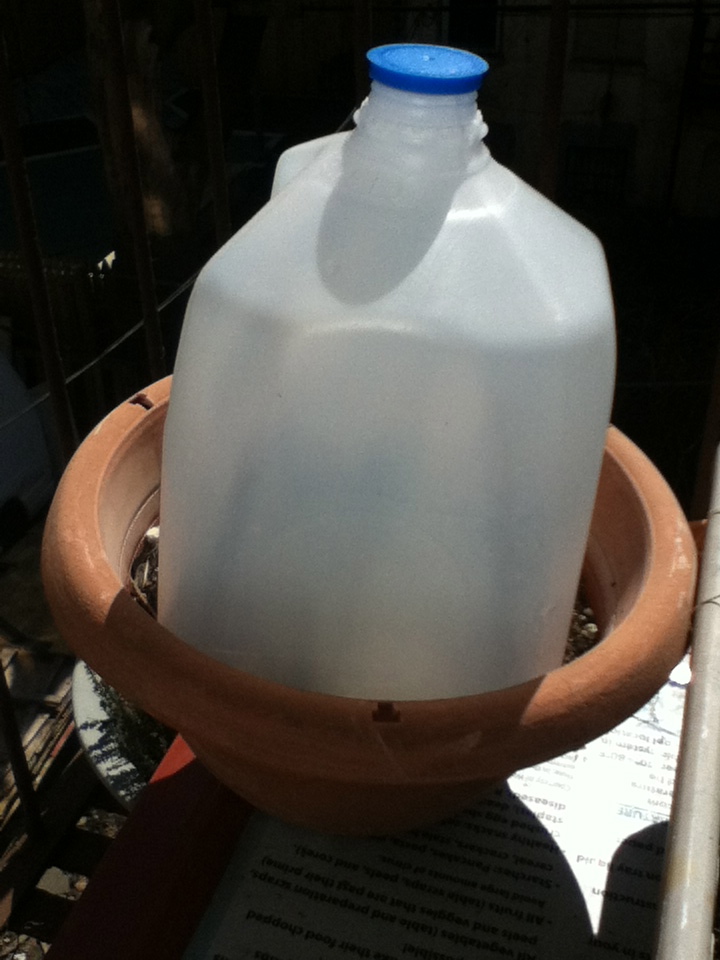
I learned this one from my be-bop on his farmstead in North Carolina. Remove labels and cut off the bottom of the jug. Set over plant and press into the soil a bit to anchor. The benefit of this system is the lid… it can be removed during the day when the sun is strong so the plant doesn’t steam to death, and replaced in the afternoon to maintain warmth inside during the cooler night. But you can also make two covers from one jug by cutting in half; only one will have the lid of course, but you’ll get more bang for your non-buck.

The materials you use can vary widely, but you’ll want to make sure that whatever it is is at least semi-transparent; this will allow light in and warm the interior. Some kind of venting mechanism can help make temperature management easier, but it’s completely unnecessary. For larger tracts of garden space, you can invest in floating row covers using Reemay or Agribon, weighed down with stones or bricks. You can use non-transparent materials like milk cartons and opaque yogurt cups too to help insulate on a particularly bitter night; just don’t leave on for days at a time or your plants will suffer from lack of light.
Keep in mind that on warm, sunny days like today, no covers are needed. Remember, if you use a cover (unless it’s floating like with Reemay or Agribon), and it’s unvented, the warmth during the day inside the container can stress or, more likely, kill your plant. Make a few covers to have on hand and plop over plants before temperatures drop. Vented, transparent covers can be kept on all the time and just sealed shut in the mid-afternoon for night protection.
Onward, seedling soldiers!
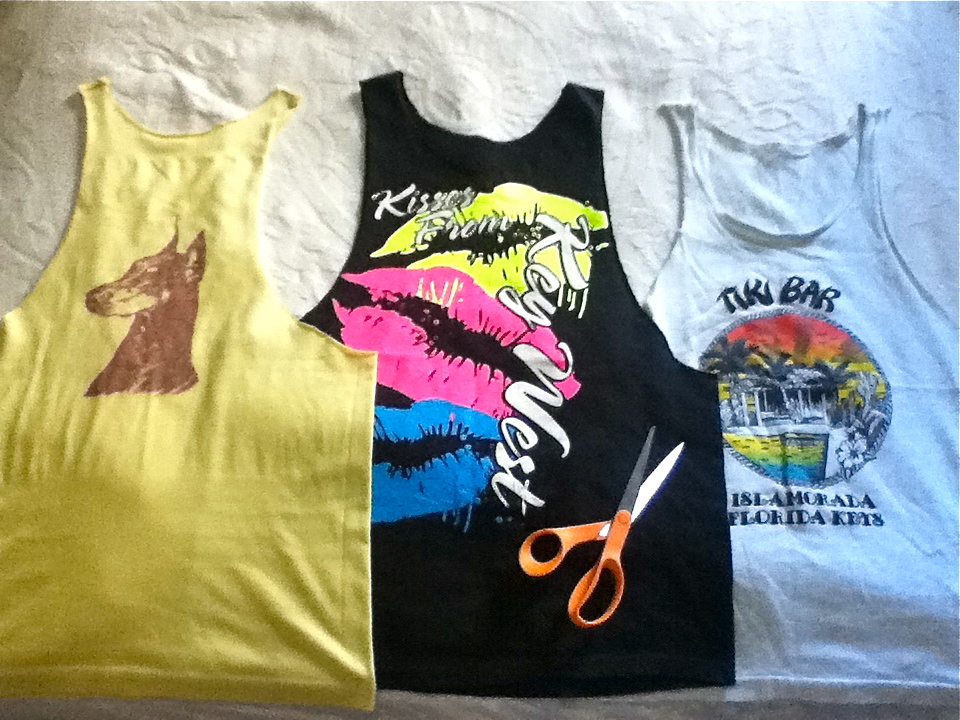
P.S. One great way to celebrate the warm Spring weather is to make a tank top. Take an old t-shirt (I stick to crewneck) and cut a curve from around the neck to below the armpit on either side. Try it on and cut more if necessary. Once you have a good template, you can use it to make more by laying it on top of another shirt and marking where to cut. No need to finish edges, especially here in Brooklyn.
]]>